If your tent zipper is not functioning properly, you may be wondering whether it needs a slider replacement or a full zipper replacement. This step-by-step guide will help you identify the issue and how to fix it.
Determine the Issue
by checking the length of the zipper for damage
Issue: zipper won’t stay closed
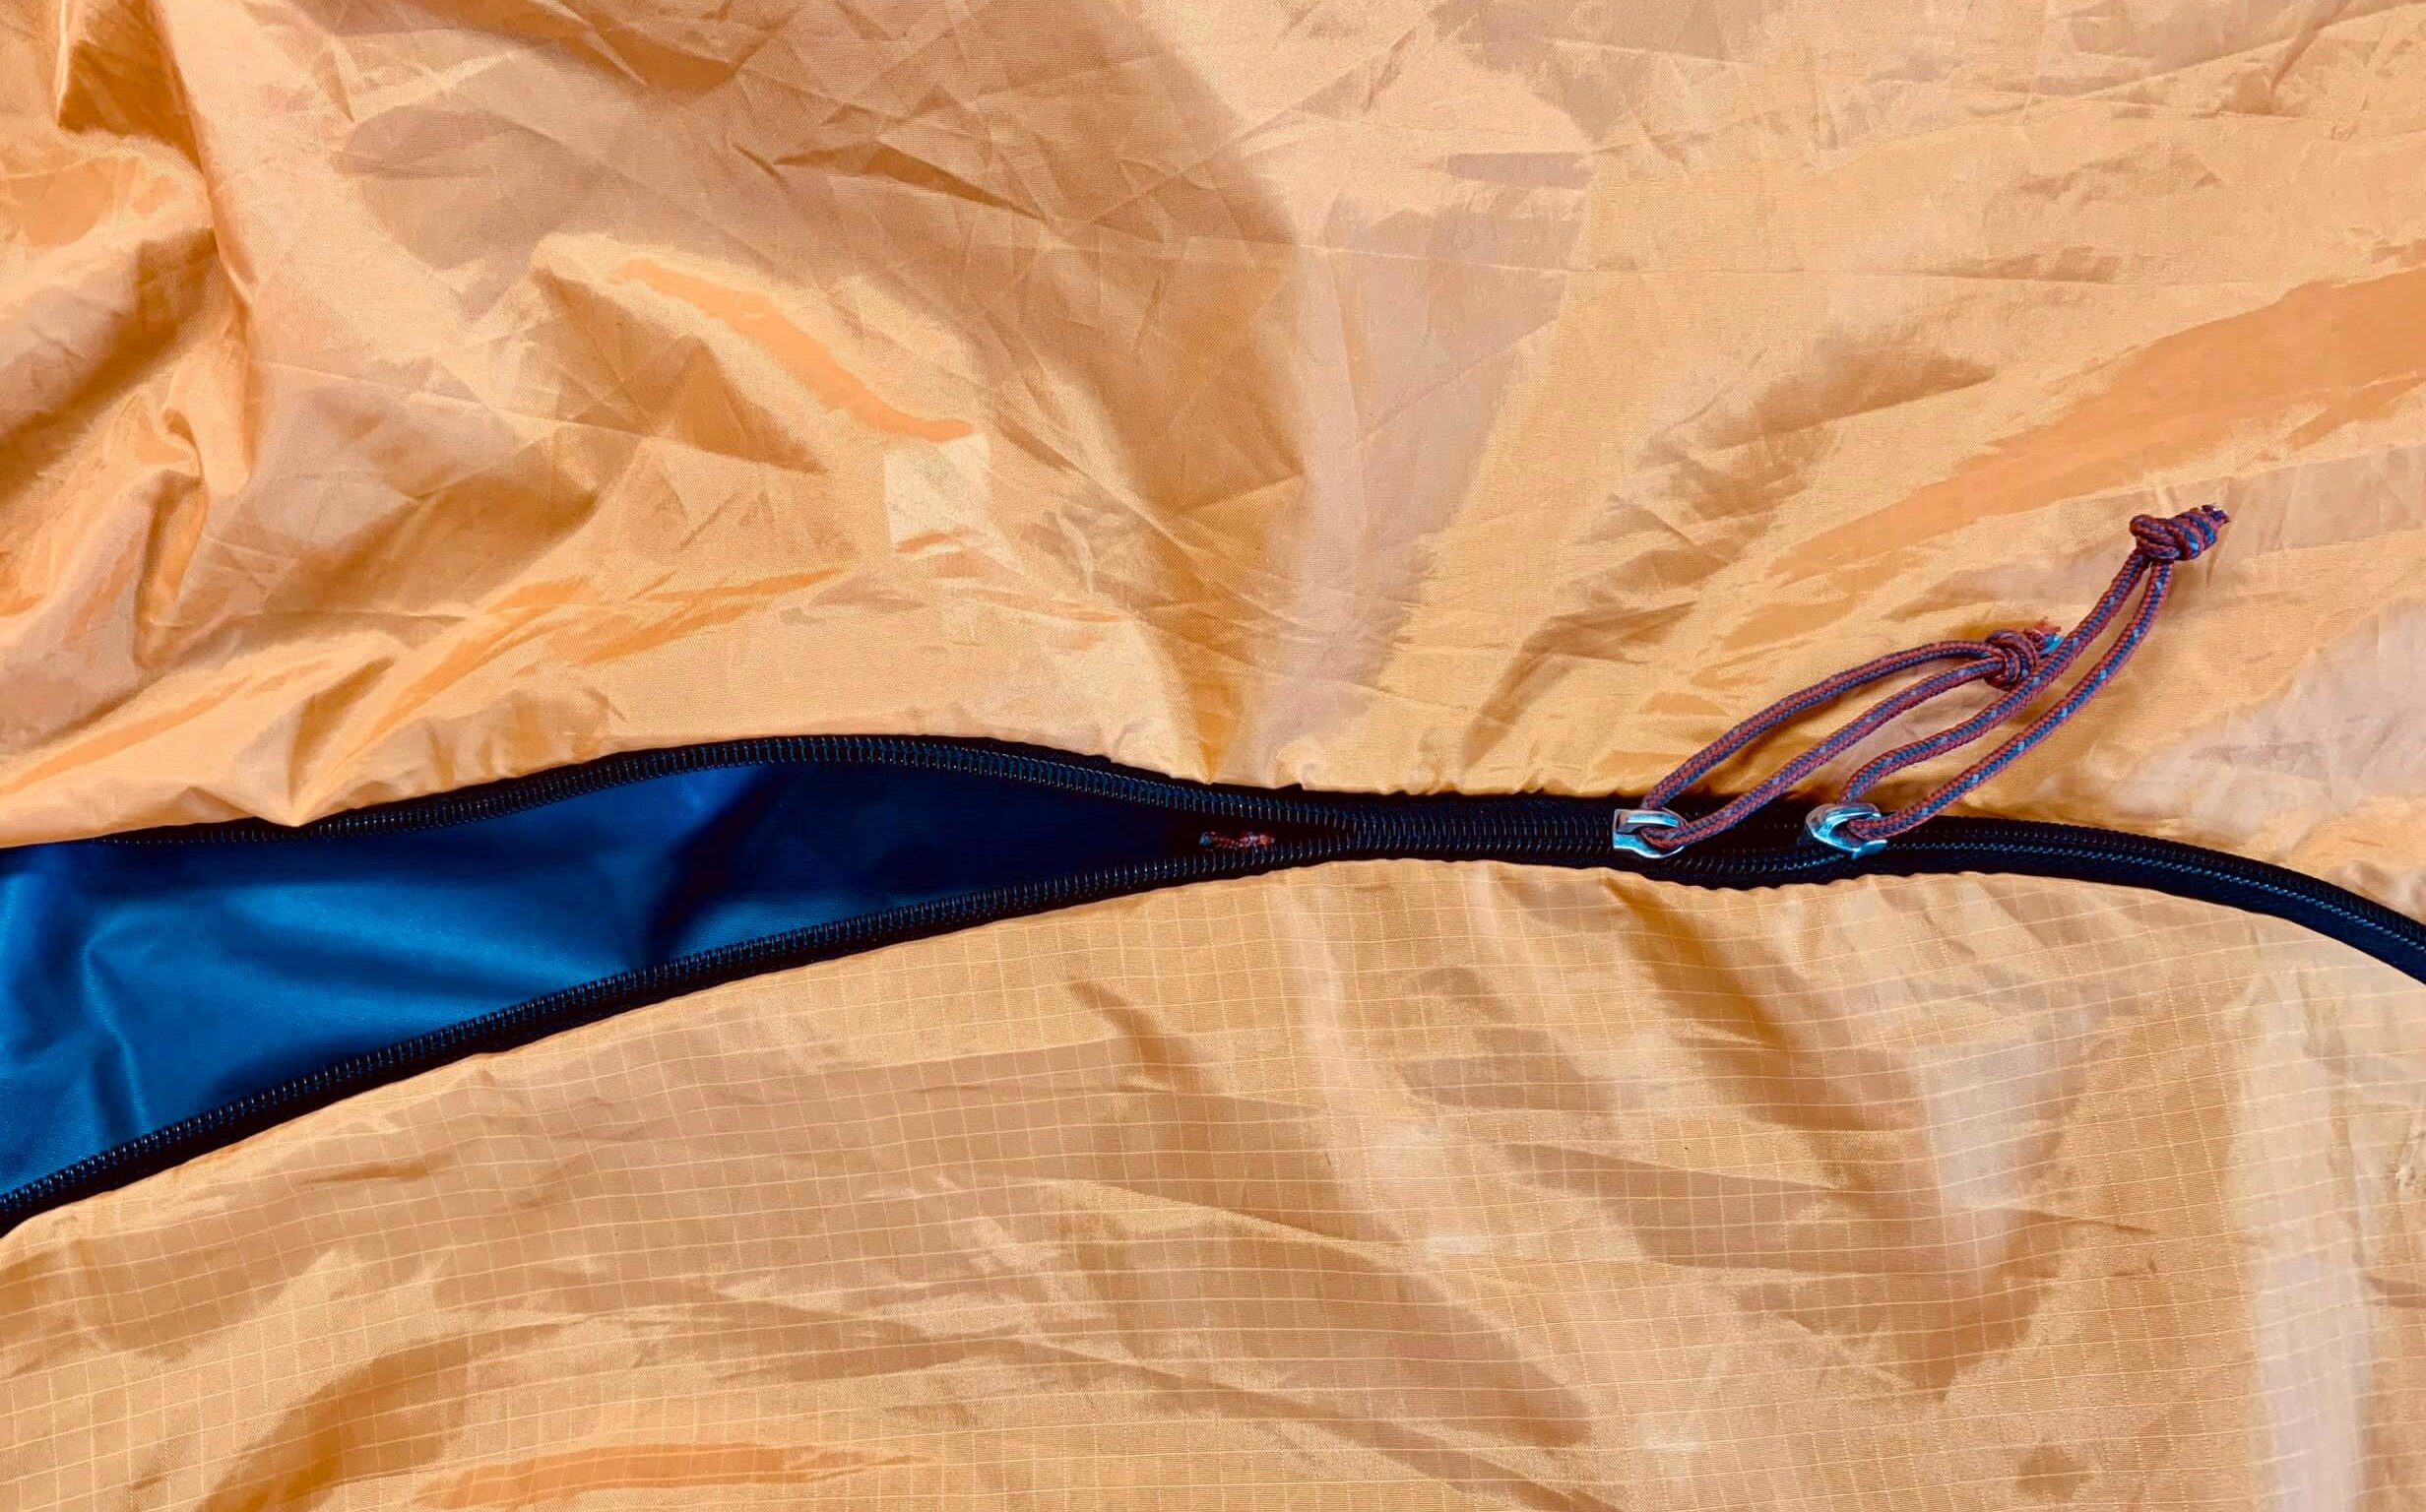
Check the length of the zipper for visible damage. If there is no damage to the coil, it likely just needs new sliders. The slider is the metal piece that zips and unzips the zipper. Over time, the internal mechanism that meshes the zipper coil together wears out and causes the zipper to separate. Common symptoms of worn-out sliders include:
- The zipper won’t stay closed or keeps separating
- The sliders are stuck in one location
- It is generally difficult to zip
- The sliders are damaged or completely missing
Solution:
Slider Replacement
How to Repair:
If you are interested in doing a DIY repair, keep reading and we’ll show you how. If you’d like to send it to the professionals for repair, cost is typically $40-60.
Issue: damage to the zipper coil
If the zipper coil is visibly damaged, torn, or extremely worn your tent will likely need a full zipper replacement.
Solution:
Full zipper replacement
How to Repair:
Replacing the zipper on a tent is a labor intensive process and requires a strong background in sewing. This post does not cover how to replace a full zipper and we recommend sending it in for a professional repair. Learn more about our tent repair service.
DIY Slider Replacement
Step by Step Guide
1. Identify & Source New Sliders
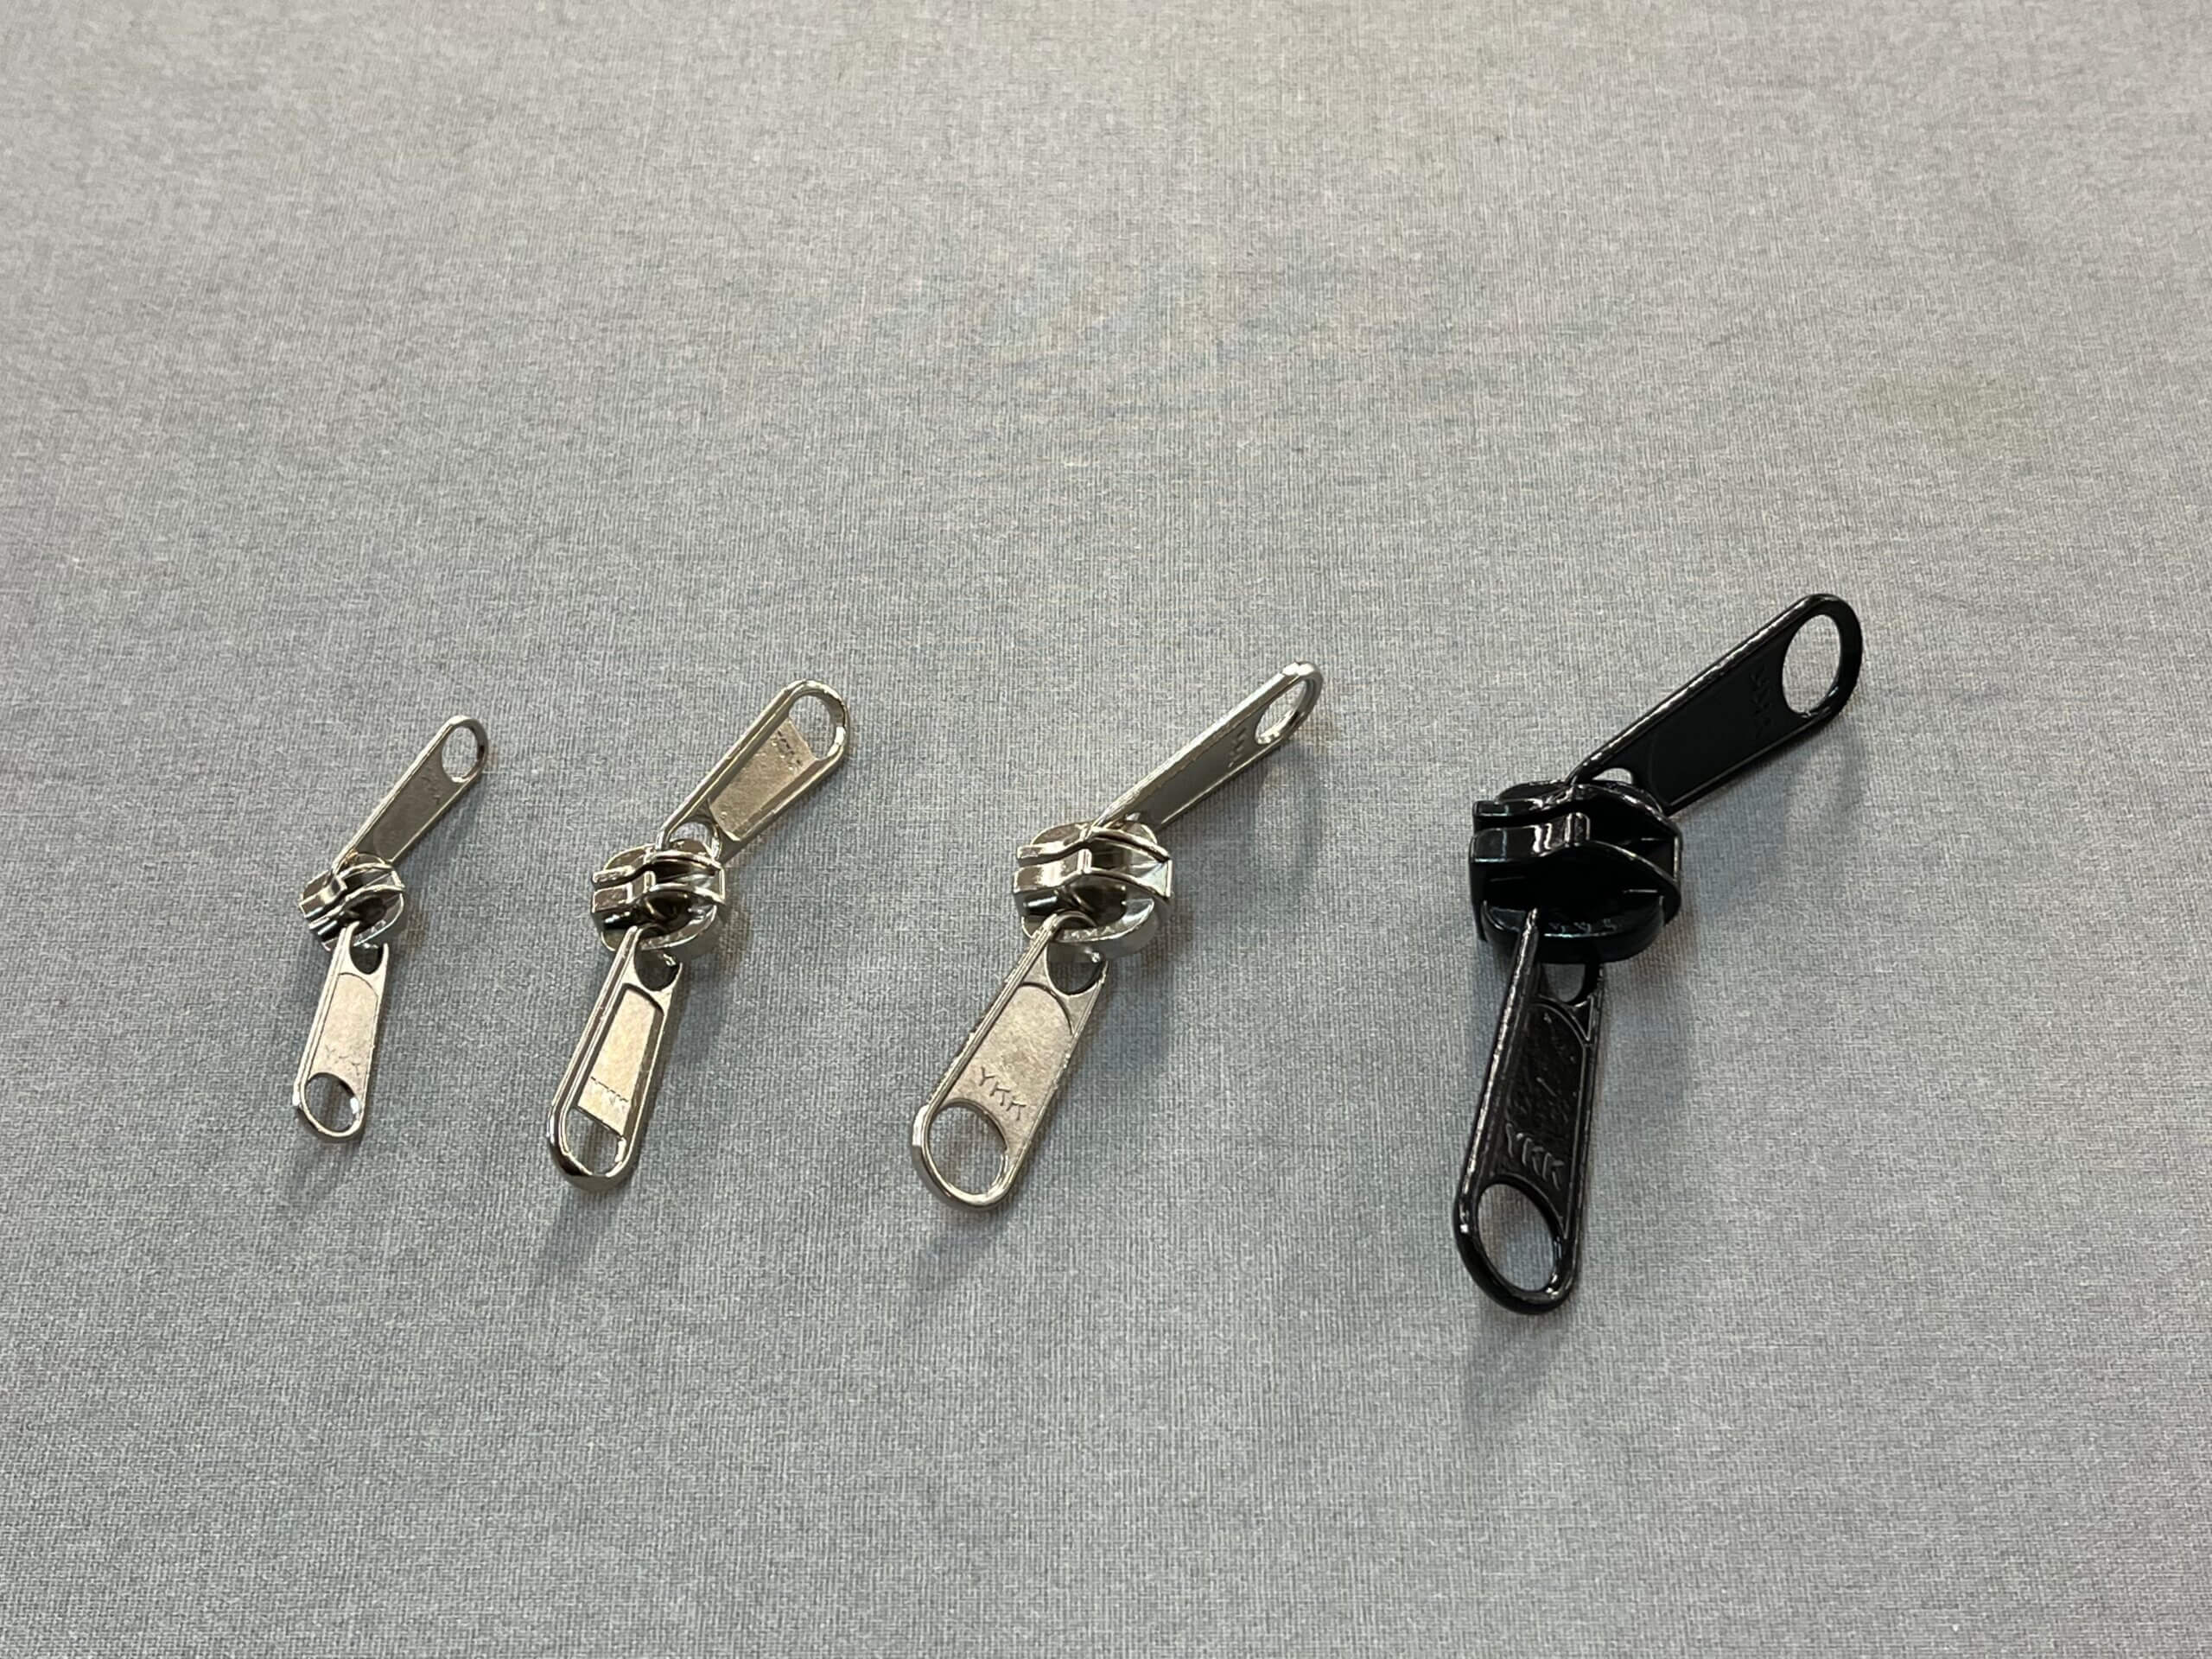
First, you’ll need to identify the brand and size of the zipper slider required. There are a variety of sizes, but the most common for tents are YKK brand in sizes #5, #8 and #10. Keep in mind you’ll want to find sliders with the double pull tabs so that you can use the zipper from inside or outside your tent.
To find the correct slider for your tent, check for some letters and numbers stamped onto the old sliders. You can also check with the manufacturer as some companies will send you replacement sliders.
Here are some suppliers we recommend:
- Size #3 coil: The RainShed or Zpacks
- Size #5 coil: The RainShed
- Size #8 coil: The RainShed
- Size #10 coil: The RainShed
Once you have identified and sourced your new sliders, it’s time to swap them out!
2. Remove old sliders
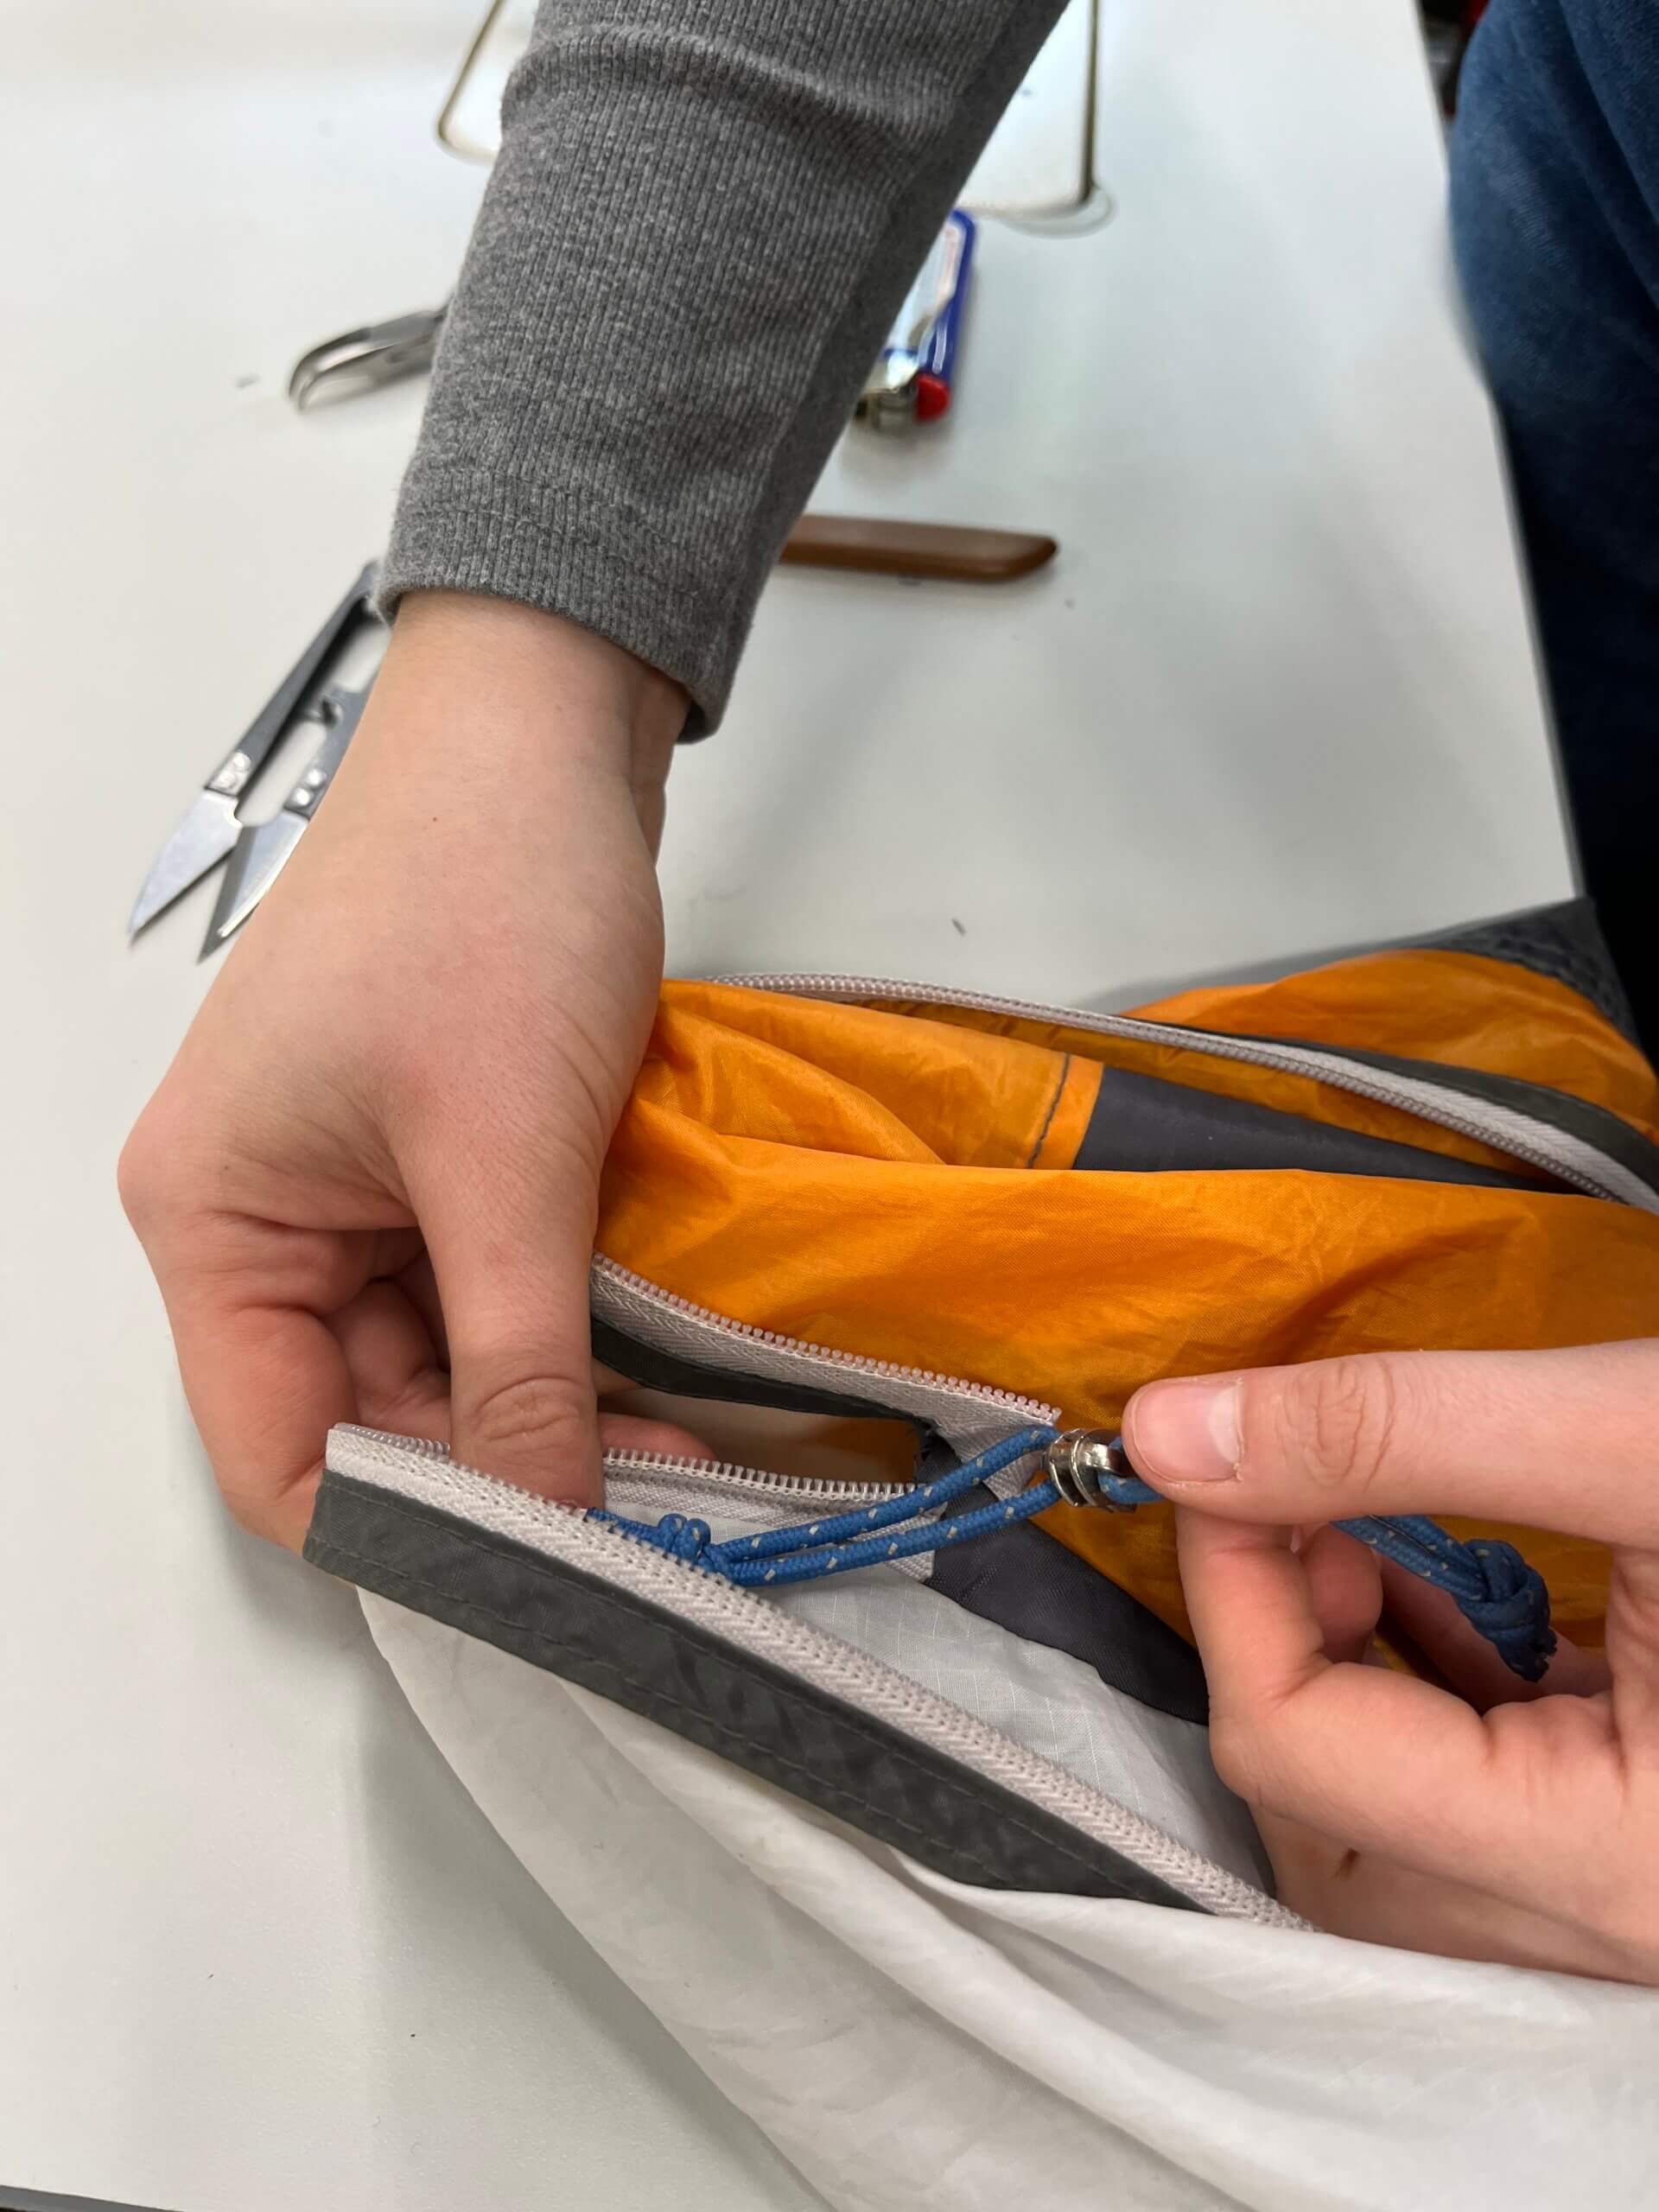
- Carefully open the seam at one end of the zipper using a seam ripper.
- Slide off both sliders.
- Tip: Keep the zipper tape zipped closed when you remove the old sliders so that you can easily install the new sliders. If the zipper is “open” or unzipped, you will need to open both ends of the zipper and install one from each side.
3. Install New Sliders
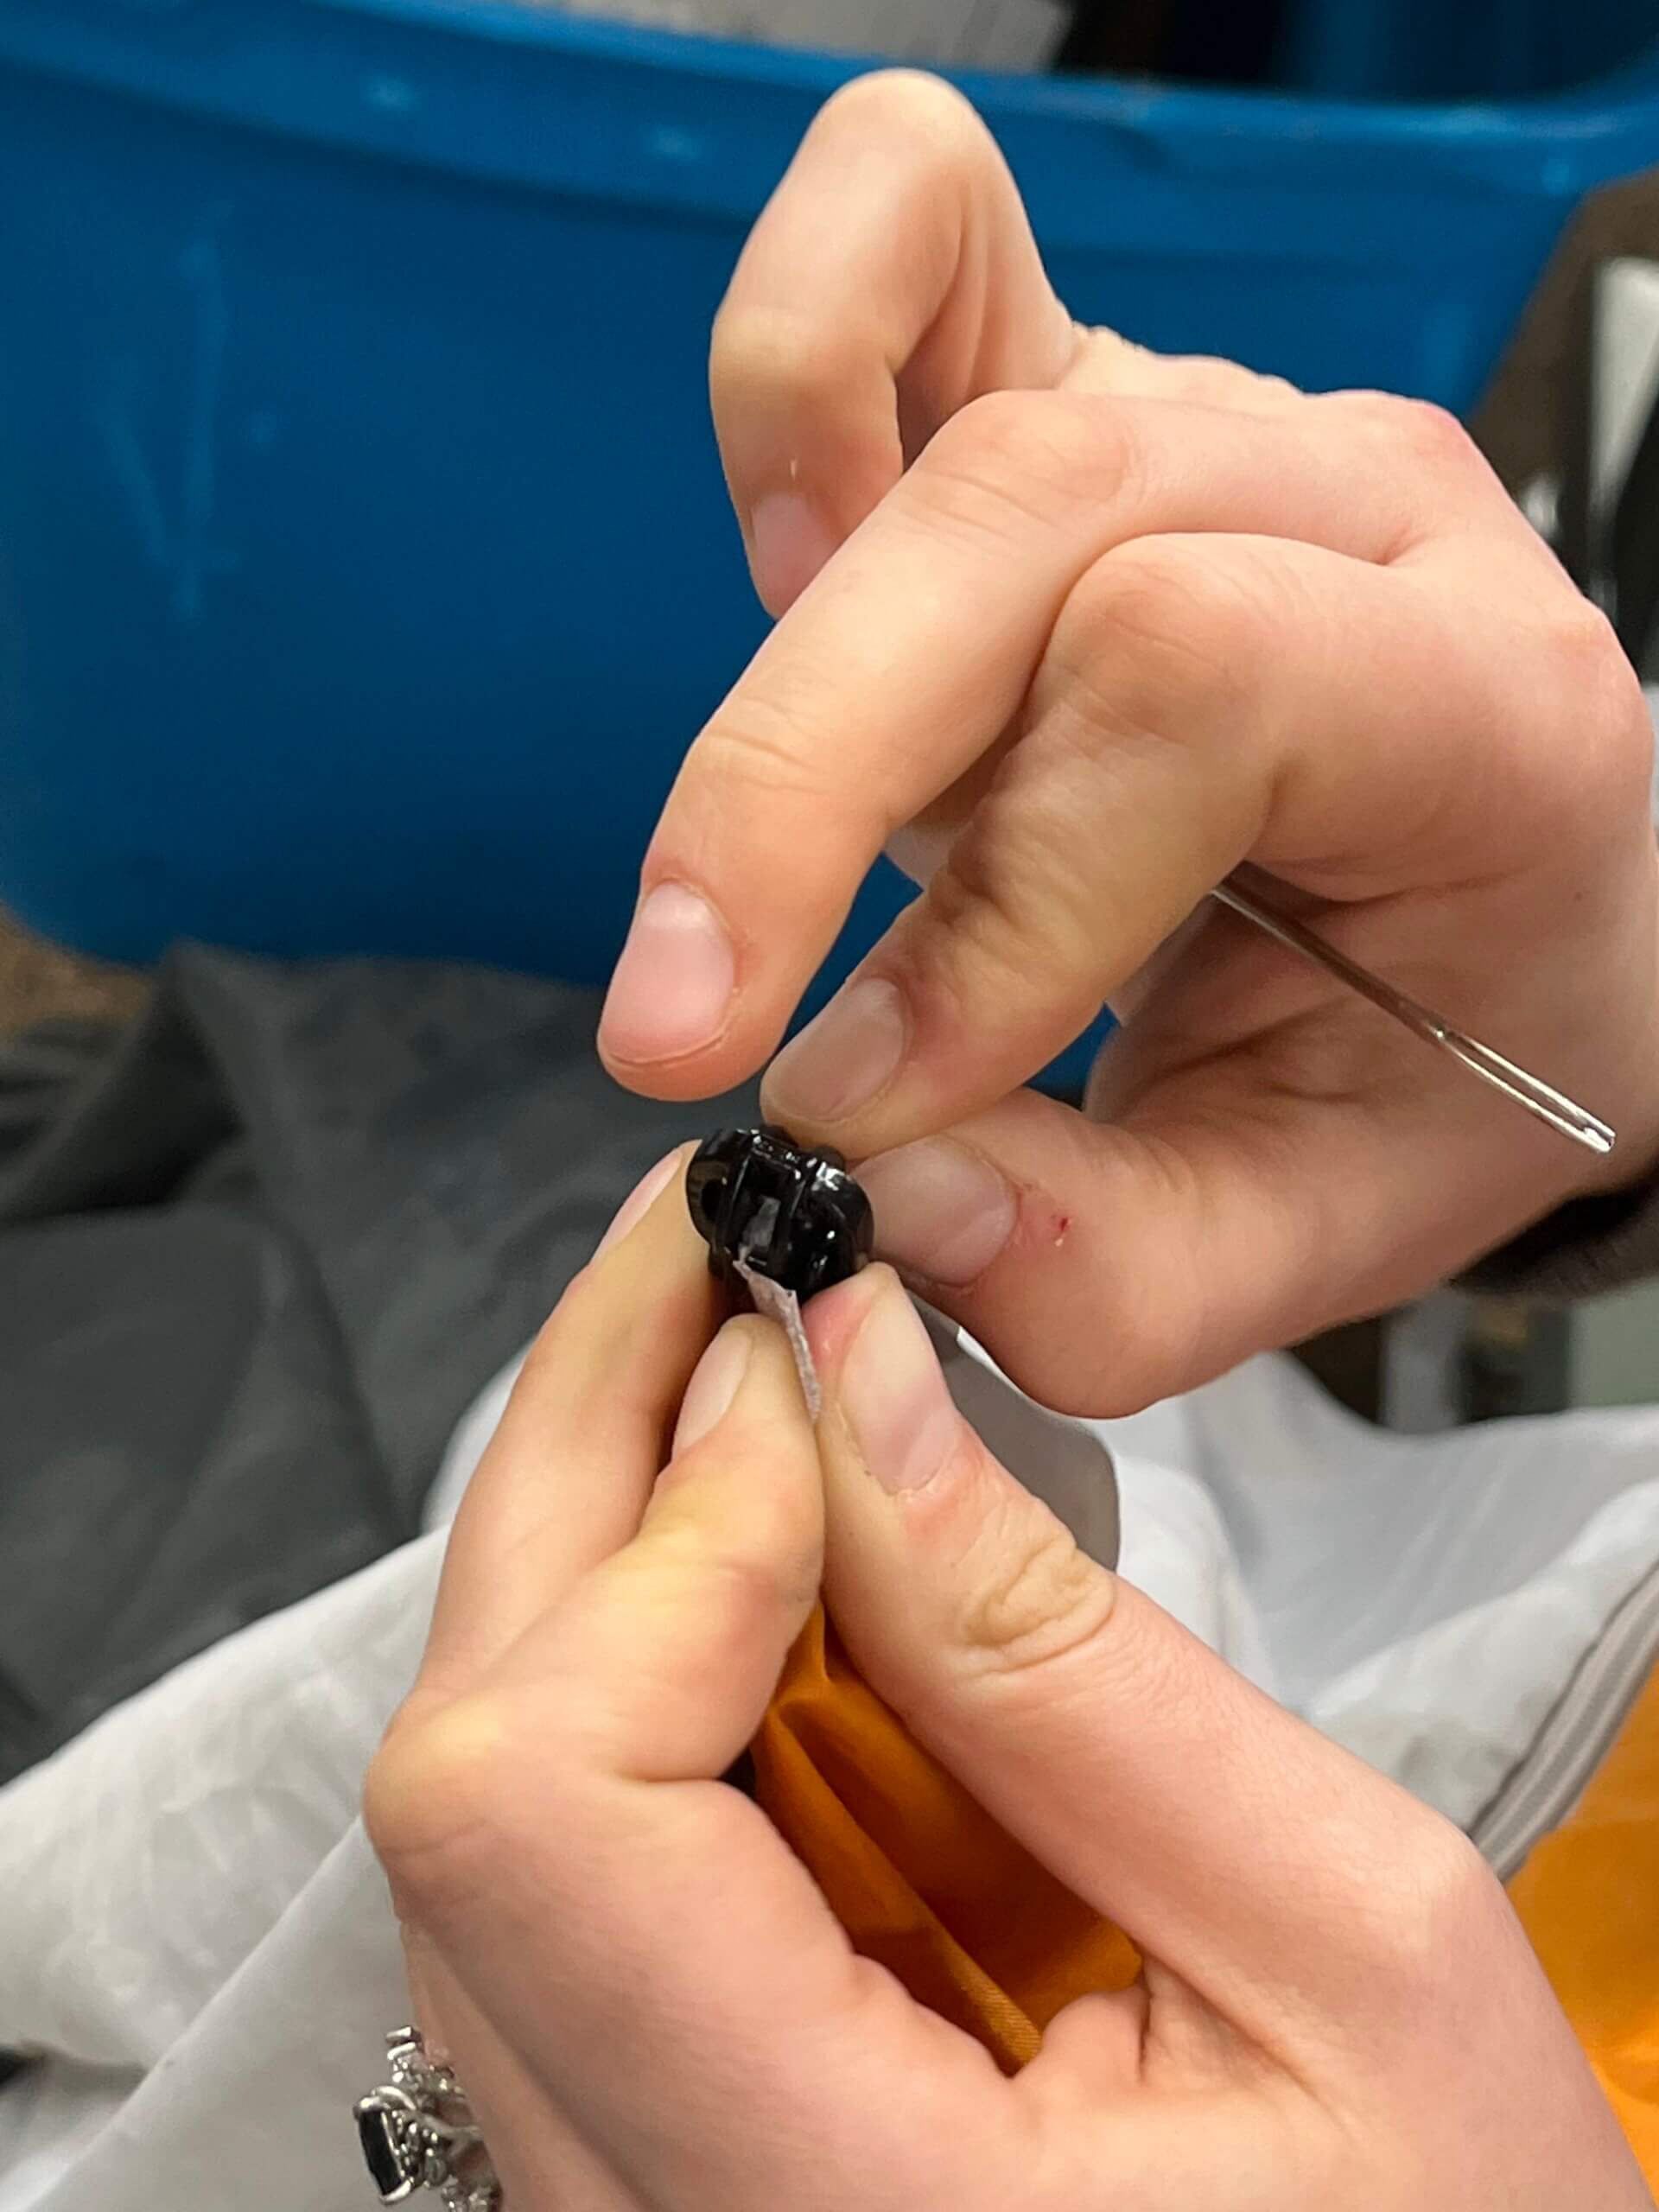
- When looking at the slider from the side, note that one side is slightly wider than the other. This is called the bale and provides space for the coil to fit in. Ensure that the bale is on the side of the zipper with the coil.
- With the zipper tape “closed” or zipped together, back the first slider on. The flat end or back of the slider should go on first.
- Once on, the zipper tape will separate, that’s ok
- Put your second slider on with the front or rounded nose first.
- Ensure that the coil on both sides of the zipper aligns. It should have the same number of coils on both sides.
4. Stitch Closed
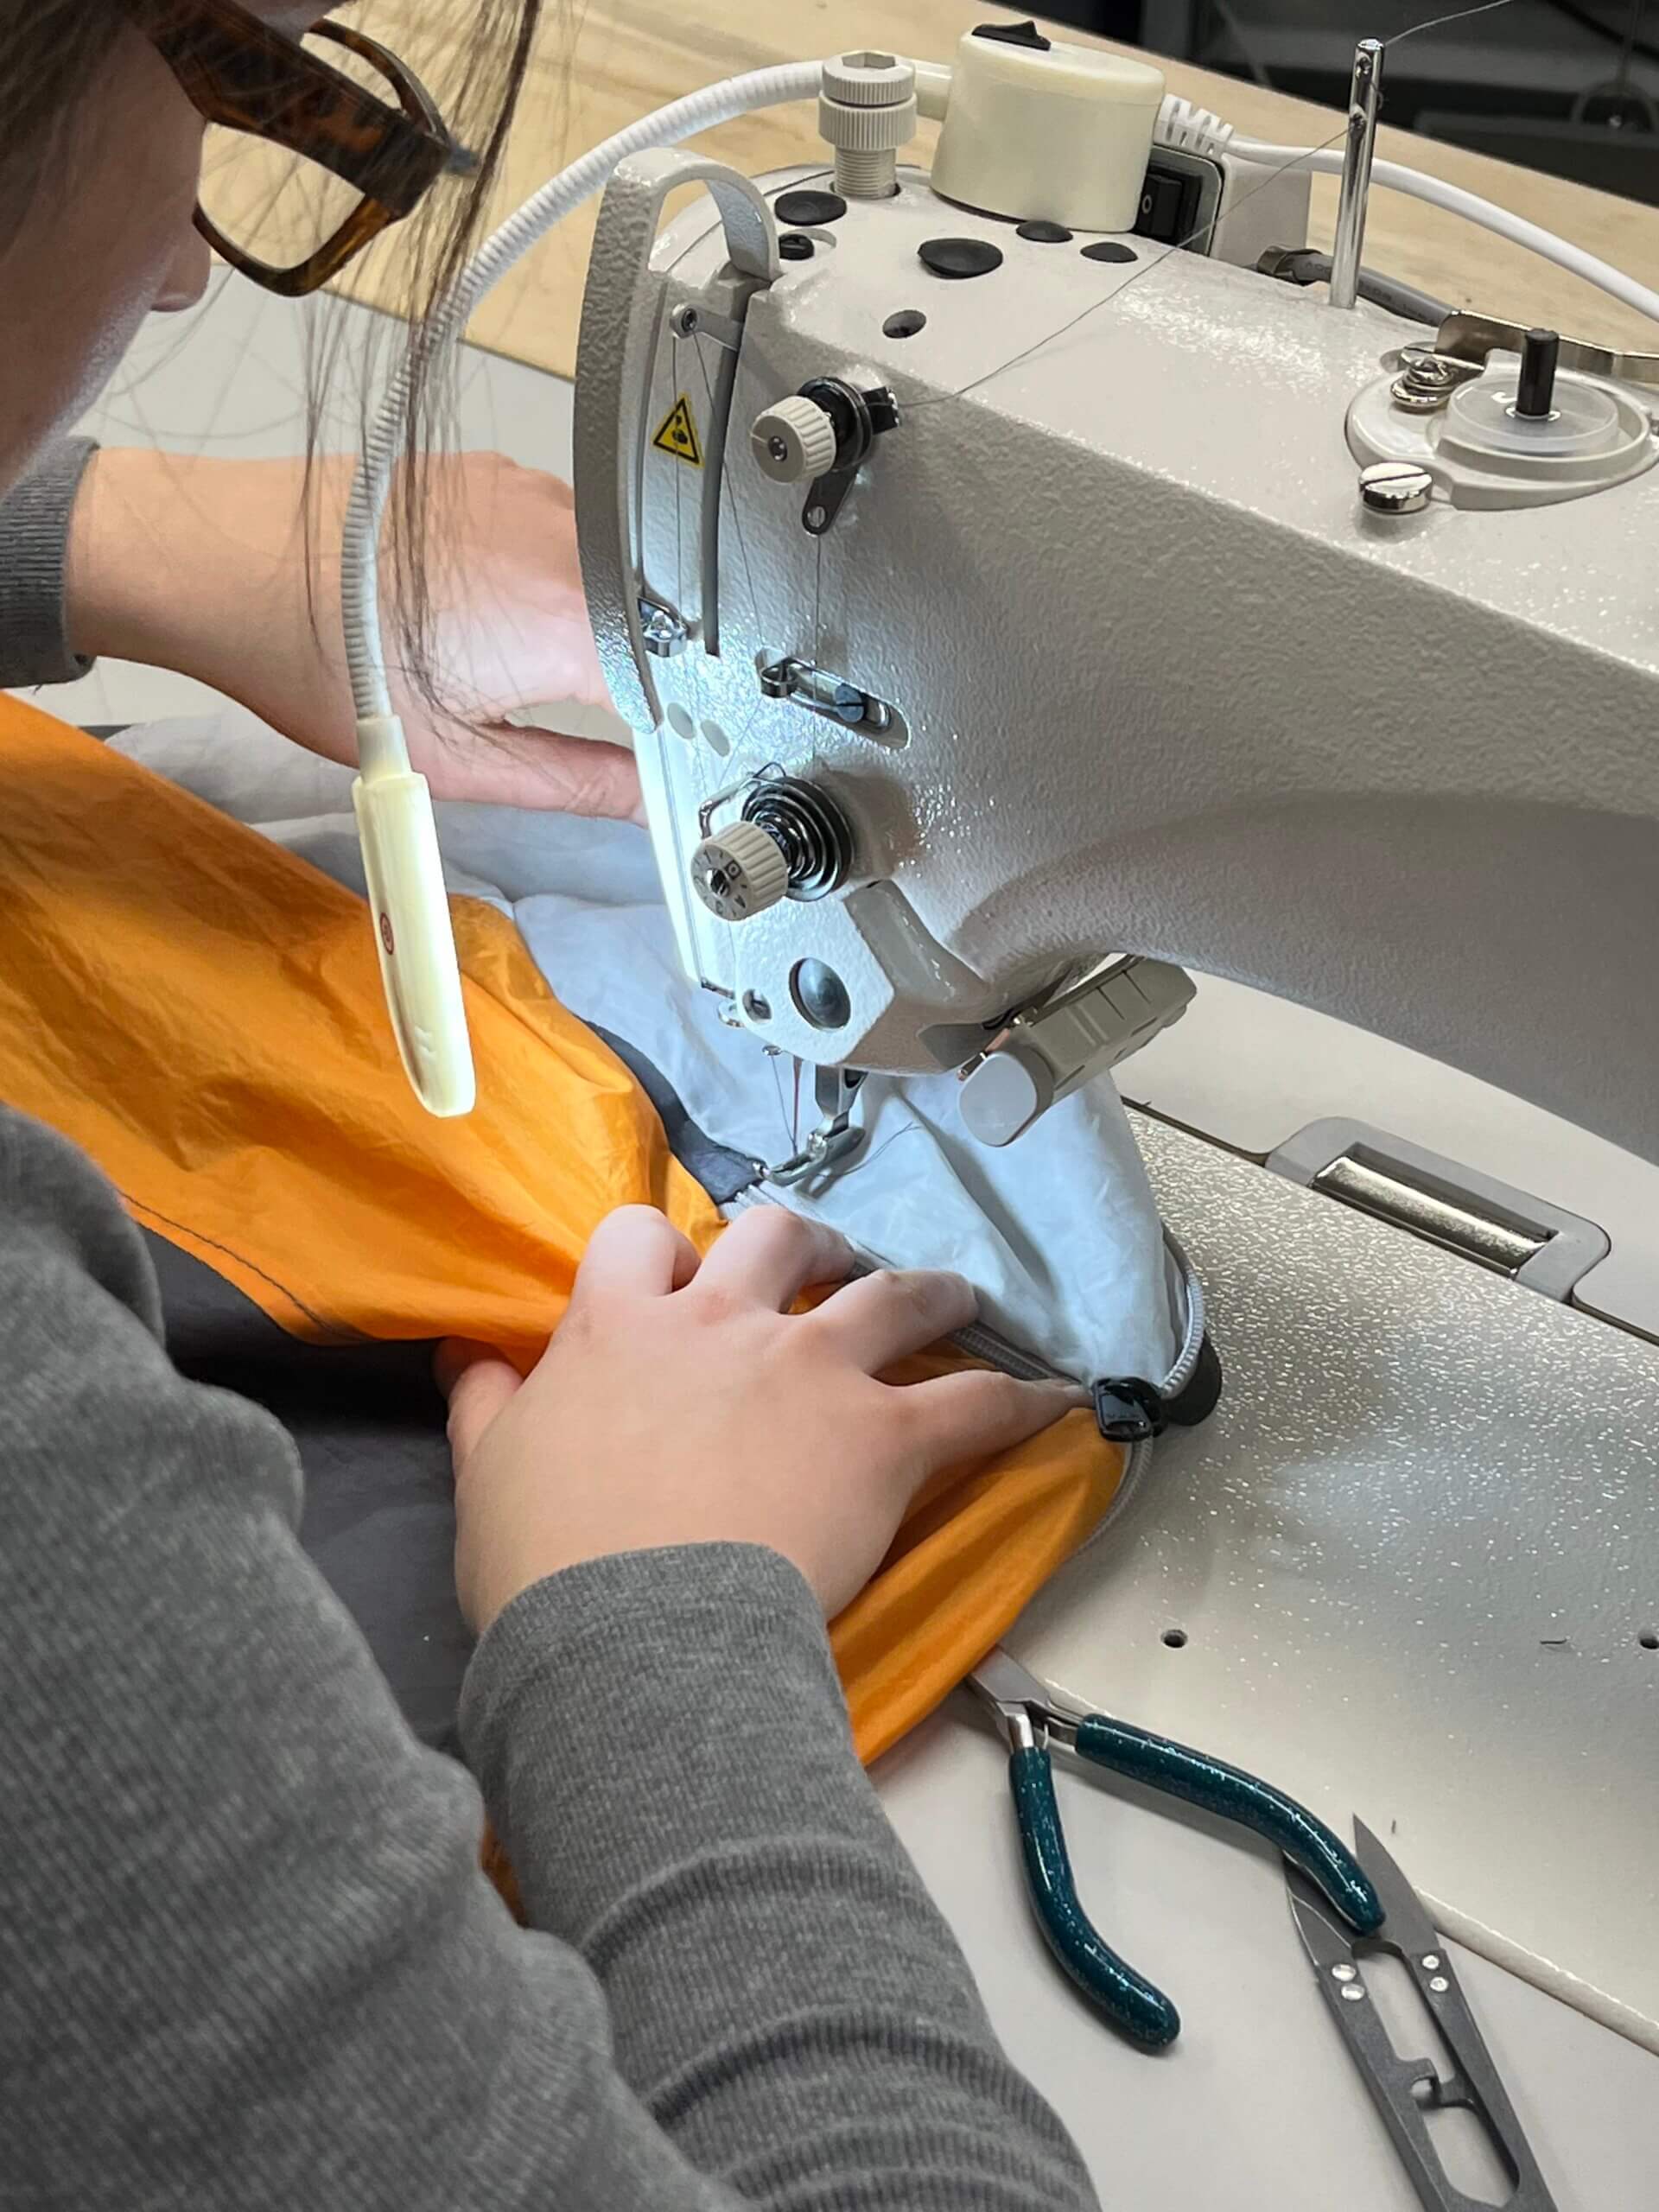
- Stitch the end of the zipper tape closed using a sewing machine
- If you do not have access to a sewing machine, you can hand-stitch
- We recommend using an industrial thread that will hold up in rugged conditions and in the sun. Tex 40 or Tex 60 are great options.
Success!
Give it a zip and make sure there are no issues before your next trip!
Learn more about tent zipper replacements, patching, screen repairs, or vinyl window replacements by clicking on the button below.
